


Introduction
Azure Communication Services (ACS) provides a robust cloud-based solution for integrating messaging capabilities into applications, including email sending. This guide will walk you through the complete setup of ACS for email, from creating resources in the Azure portal to configuring domain authentication and sending emails via APIs.
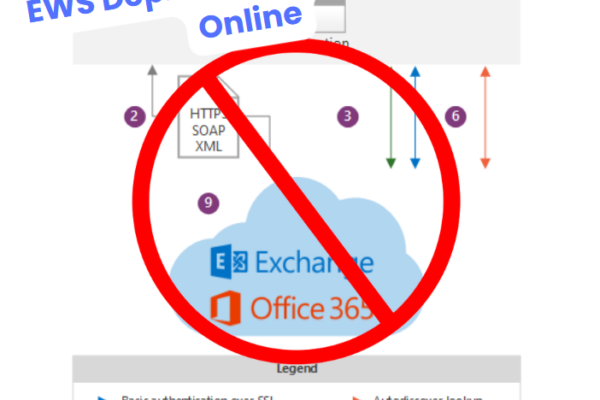
📌 Important: Microsoft has introduced new Exchange Online Tenant Outbound Email Limits (TERRL), which can impact large-scale email sending. Learn more about it in this article.
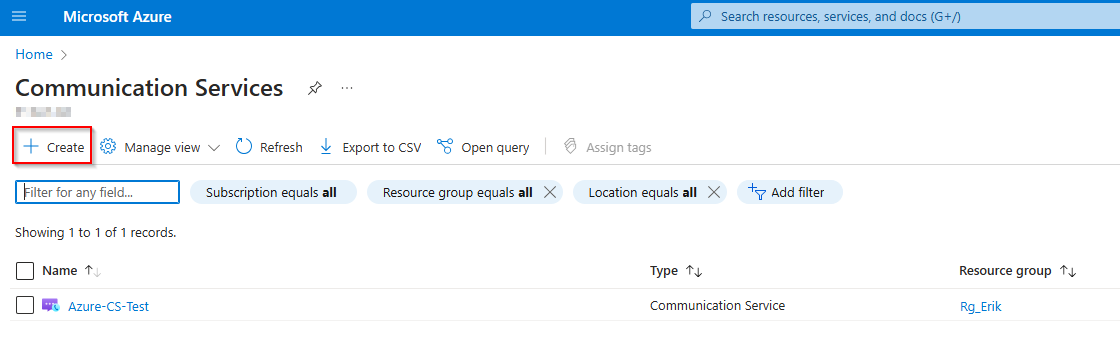
Step 1: Creating an Azure Communication Services Resource
Before sending emails, you need to create an ACS resource in the Azure portal.
- Log in to Azure Portal at portal.azure.com.
- Navigate to „Azure Communication Services“ and click „Create.“
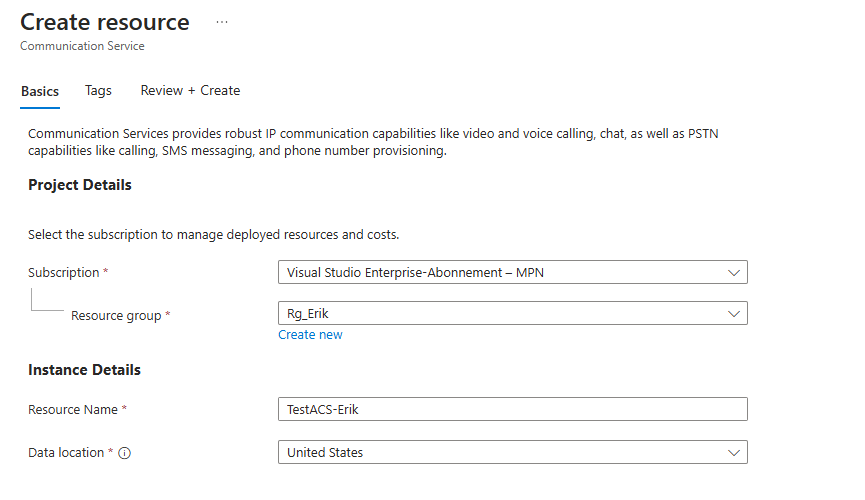
- Select a Subscription and Resource Group.
- Provide a Name for your ACS instance.
- Choose the Region (Select the closest one to your primary users for better performance).
- Review and create the resource.
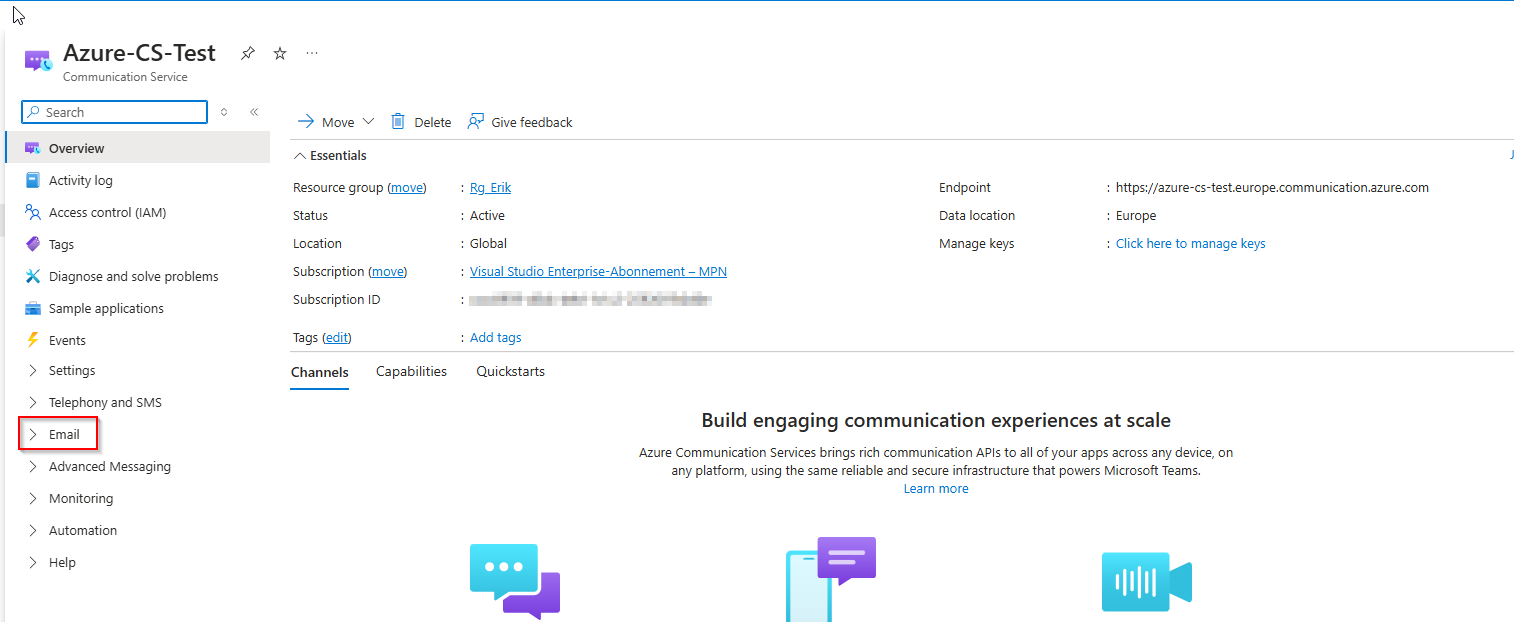
- Once deployed, navigate to the ACS resource in the Azure portal.
Step 2: Setting Up a Custom Domain for Email Sending
To send emails from a custom domain, it must be verified in Azure.
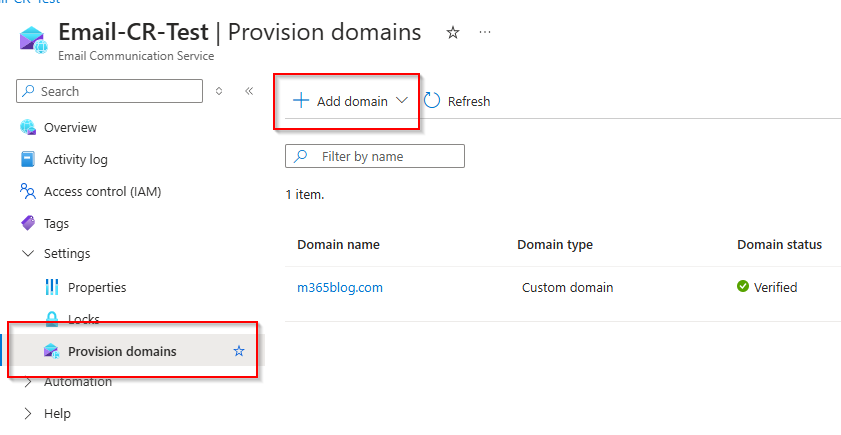
- In your ACS resource, go to „Email“ in the left panel.
- Click „Domains“ and then „Add Domain.“
- Enter your domain (e.g.,
m365blog.com). - Azure will generate DNS records (TXT, CNAME) for verification.
- Go to your domain registrar (e.g., Cloudflare, GoDaddy, Azure DNS) and add the required DNS records.
- Click „Verify“ in Azure once the DNS changes have propagated.
- If successful, the domain will appear as „Verified.“
Step 2.1: Creating and Connecting the Email Service to ACS
Before connecting a verified domain, you need to create an Email Service resource in Azure Communication Services. This is a separate resource that enables email capabilities.
Creating the Email Service
- In the Azure Portal, go to E-Mail Communication Services.
- Click „Create“, and select Email Service as the resource type.
- Choose the Subscription and Resource Group.
- Provide a Service Name and select a Region.
- Click „Review + Create“, then „Create“ to deploy the service.


Once the Email Service is created, proceed with linking it to the verified domain.
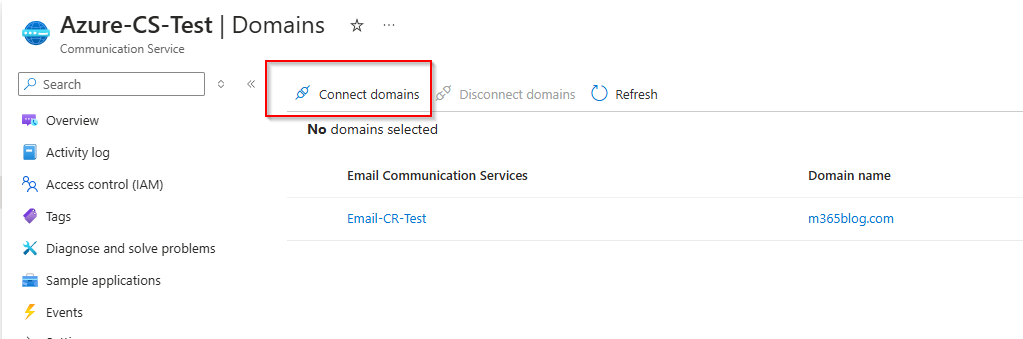
Connecting the Verified Domain to ACS
Once the domain is verified, you need to connect it to your Azure Communication Services resource.
- In the ACS portal, navigate to „Email“ > „Domains.“
- Click „Connect Domain.“
- Select your Subscription, Resource Group, and Email Service.
- Choose the verified domain from the list.
- Click „Save“ to connect the domain to ACS.
- The domain is now linked to your ACS email service and ready for further configuration.
Step 2.2: Setting Up Email Policies for the Domain
- Navigate to ACS > Email > Policies.
- Define allowed email addresses and domains.
- Configure rate limits and recipient restrictions.
- Save your policies to ensure security and compliance.
Step 3: Configuring DKIM for Enhanced Security
To prevent email spoofing, you must enable DKIM authentication.
- In the ACS Email domain settings, navigate to „DKIM“.
- Azure provides two CNAME records for DKIM.
- Add the CNAME records in your DNS settings:
- Name:
selector1._domainkey.m365blog.com - Value:
selector1-azurecomm-prod-net._domainkey.azurecomm.net. - TTL: 3600
- Repeat the same for
selector2.
- Name:
- Click „Enable DKIM.“
- Use a DKIM checker like MXToolbox to verify the records.
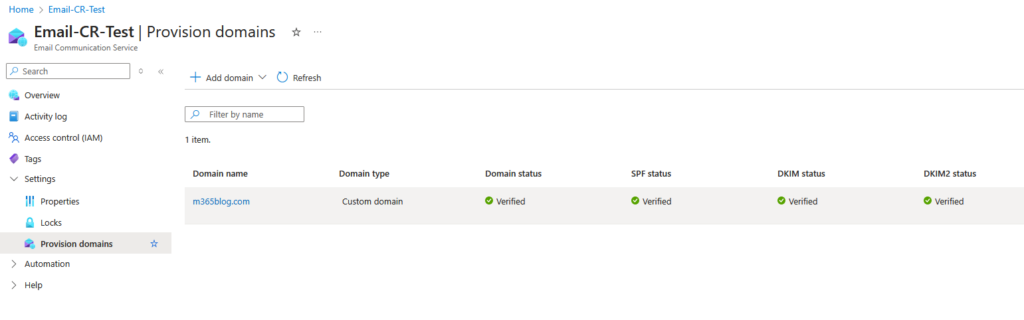
Step 4: Configuring SPF & DMARC for Email Authentication
To improve email deliverability, configure SPF and DMARC records.
SPF Record:
Add the following TXT record to your domain:
v=spf1 include:spf.protection.outlook.com -allDMARC Record:
Add this TXT record for DMARC enforcement:
_dmarc.m365blog.com TXT v=DMARC1; p=none; rua=mailto:dmarc-reports@m365blog.comStep 5: Monitoring and Troubleshooting
To ensure email delivery, monitor logs in Azure.
- Navigate to ACS Resource > Monitoring > Logs.
- Check for email delivery failures and troubleshoot issues.
- Use Azure Monitor to set up alerts for failed email deliveries.
- Configure Diagnostic Settings to collect logs for deeper analysis.
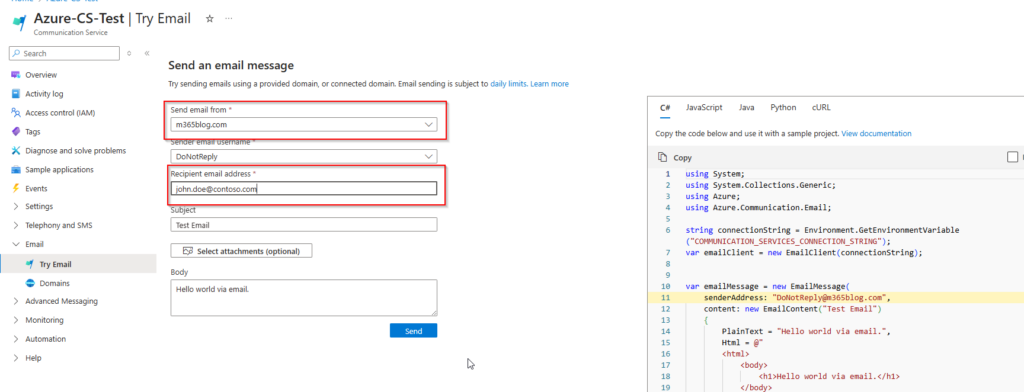
Step 6: Testing
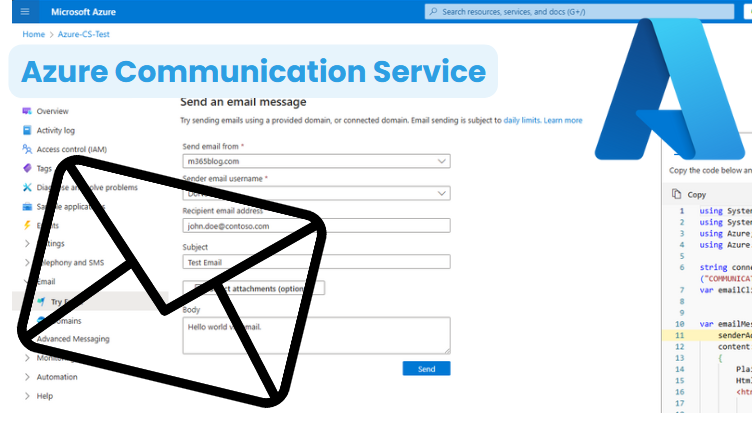
- Navigate to ACS Resource > Email > Try Email.
Conclusion
You have now successfully set up Azure Communication Services for email sending, configured domain authentication with DKIM, SPF, and DMARC, and learned how to send emails using Microsoft Graph API in PowerShell and C#. With this setup, you ensure secure and scalable email communication through Azure.
Next Steps:
- Integrate ACS with applications and workflows.
- Automate email sending with Azure Functions.
- Analyze email performance with monitoring tools.
🚀 Start sending emails with ACS today!
For further details, refer to the official Microsoft documentation.